Description
FEATURES
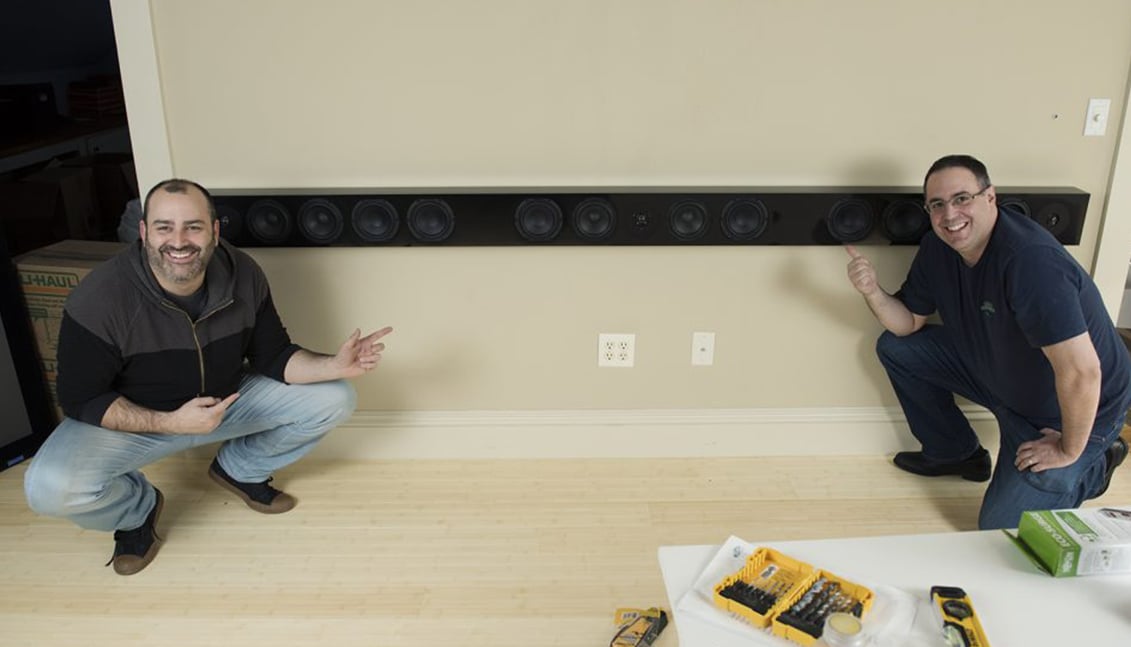
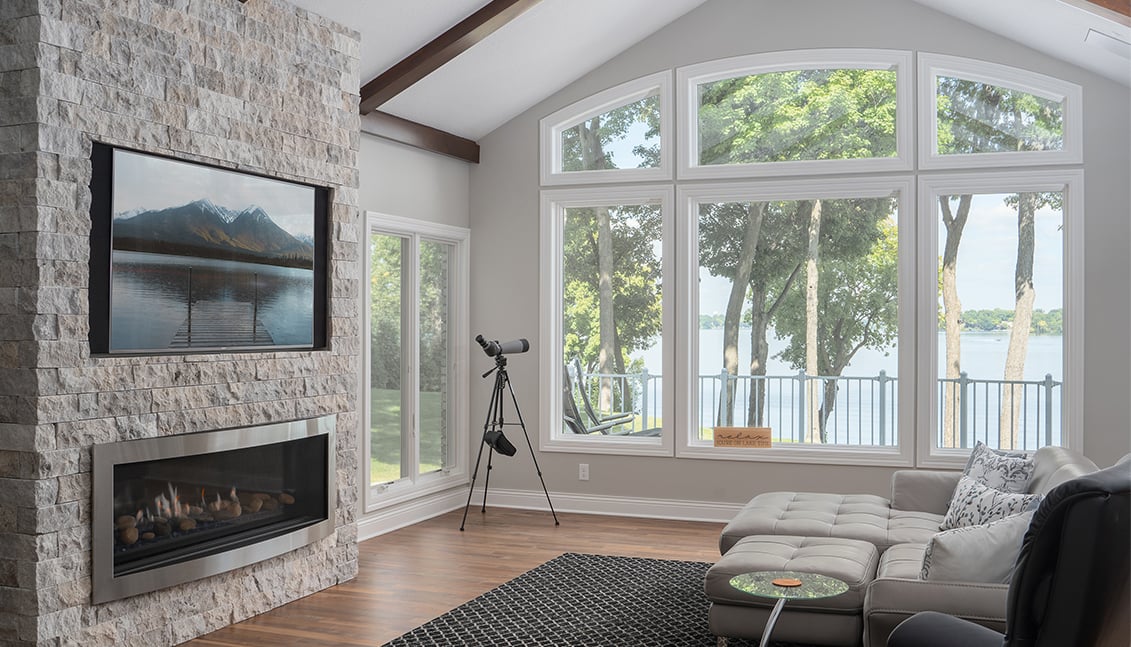
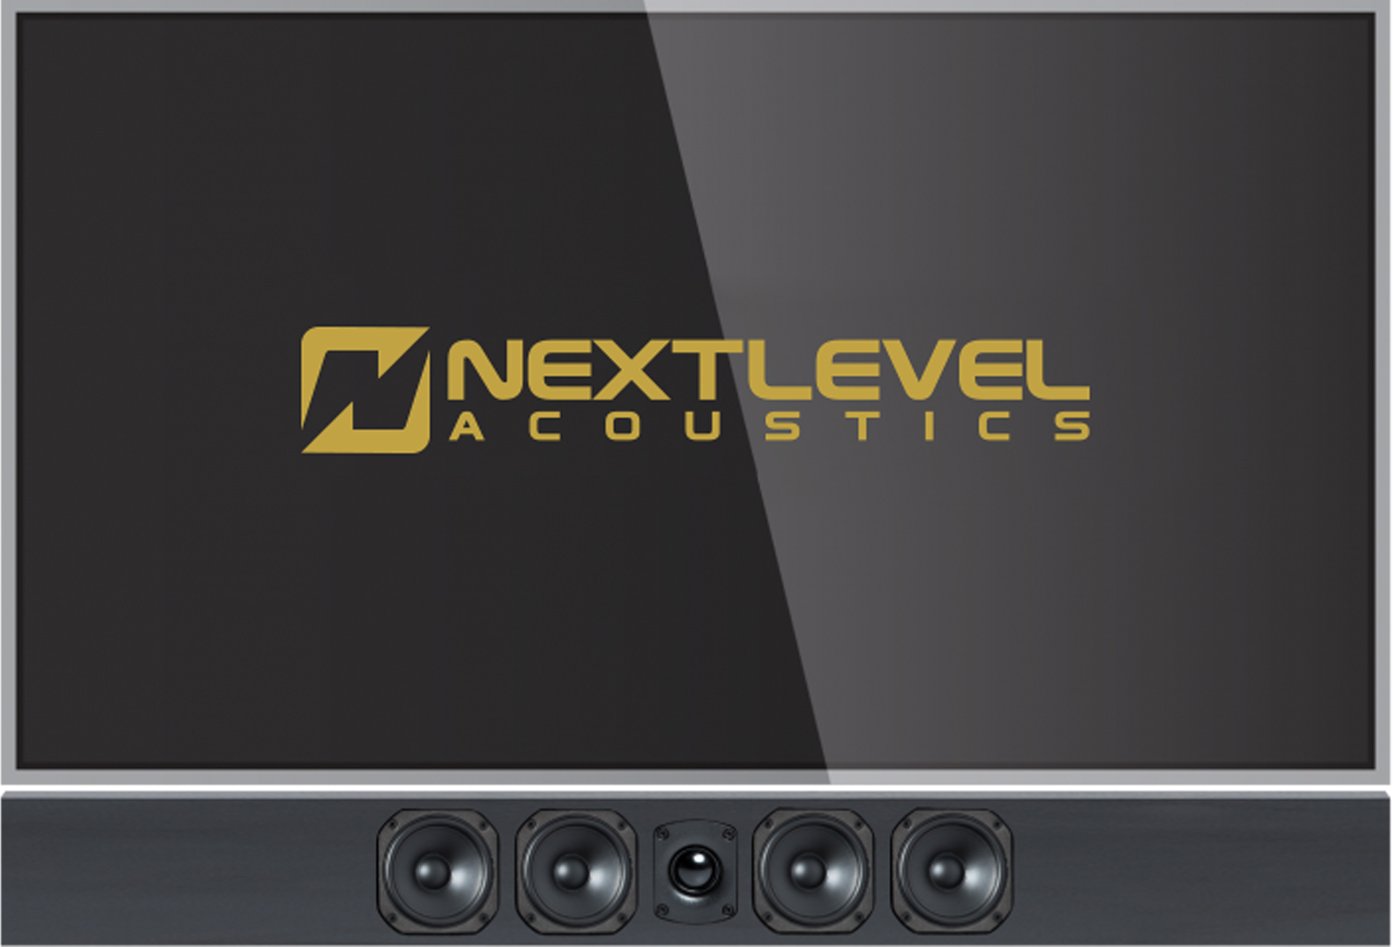
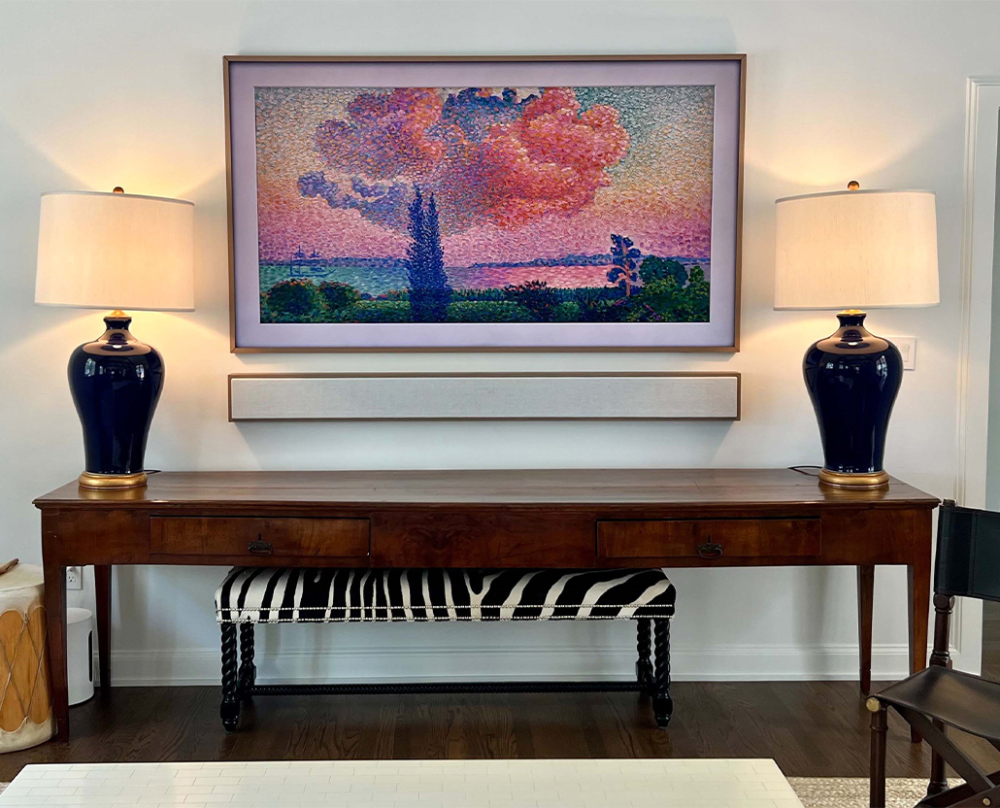
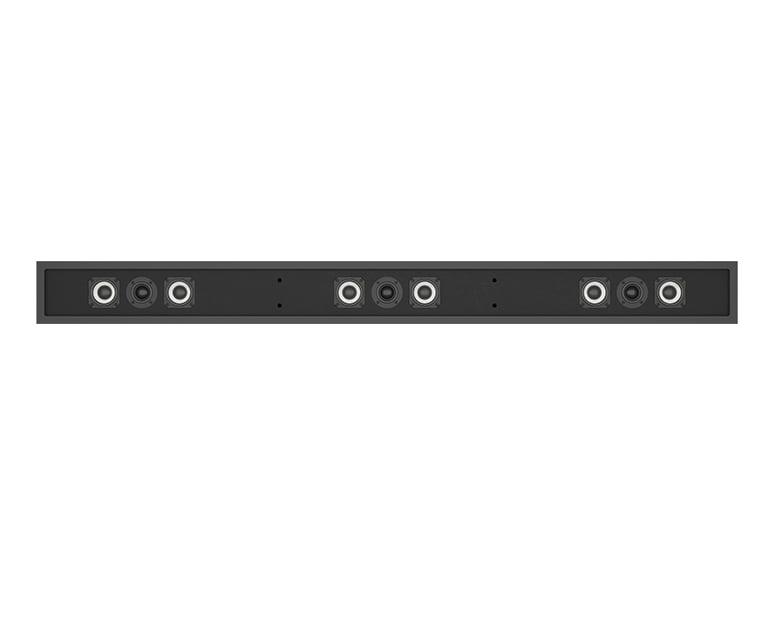
The Fusion CC (Center Channel) soundbar allows the for the creation of a dedicated center channel below the display.
The Fusion CC allows for several audio configurations:
- LCR center channel modules (WWTWW) / (WTW when restricted by space)
- The Center module is manufactured smaller than the display
- The Center module is manufactured to the exact length of the display
- When pairing with L-R modules: The Center channel module is constructed to the exact width of the display, while the Left and Right modules are created to mount flush to the top of the TV but extend past the bottom of the display terminating flush with the bottom of the Center Channel
- When pairing with L-R modules: The Left and Right modules are constructed to the exact height of the display, while the Center Channel module extends past the edges of the display flush with outside edges of the Left and Right modules
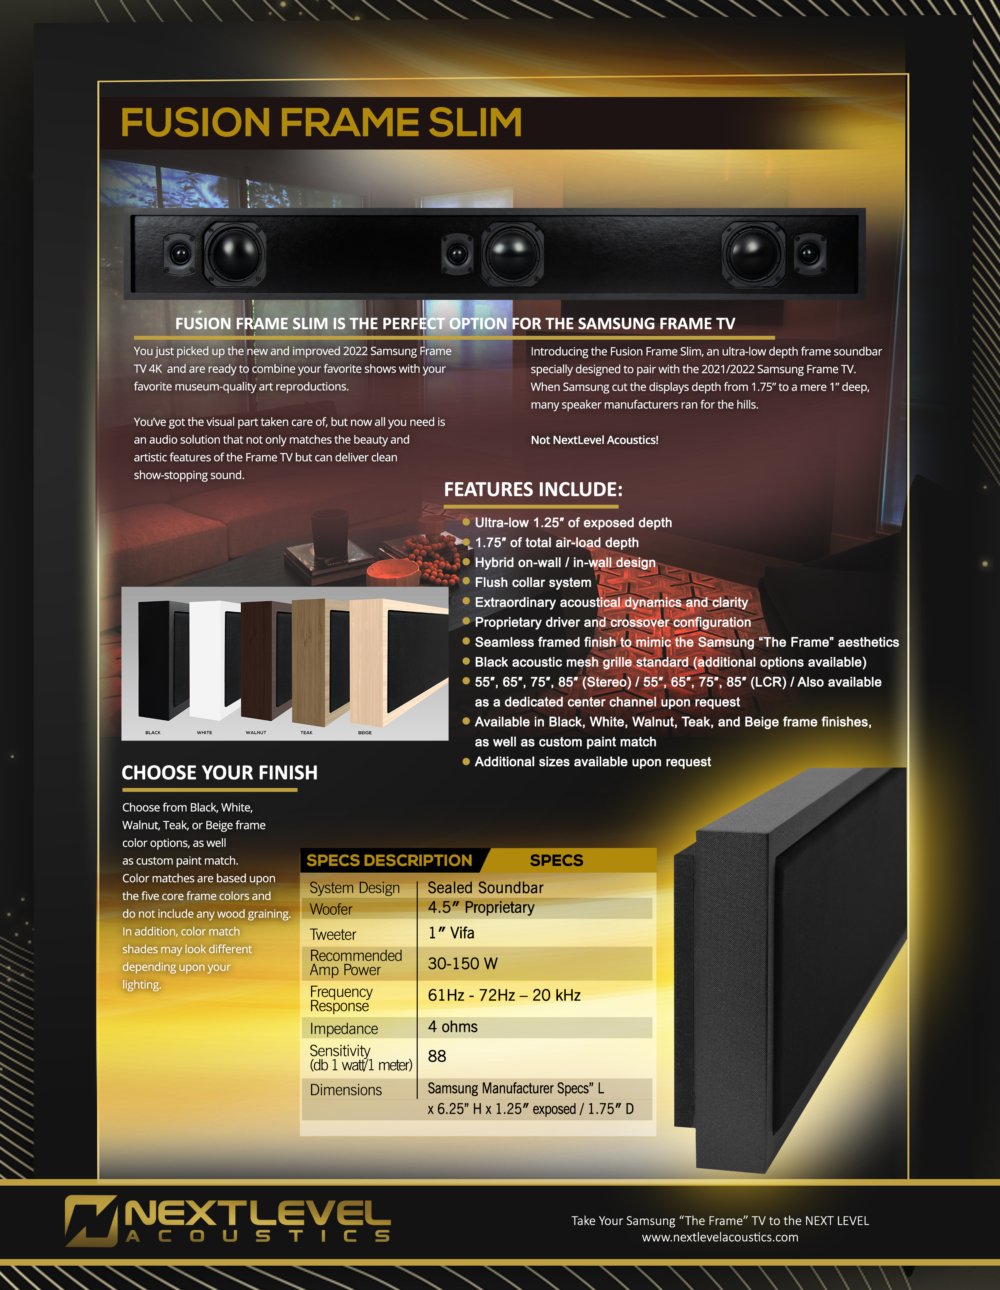
- Custom driver sets, colors, finishes, and grille fabrics available upon request
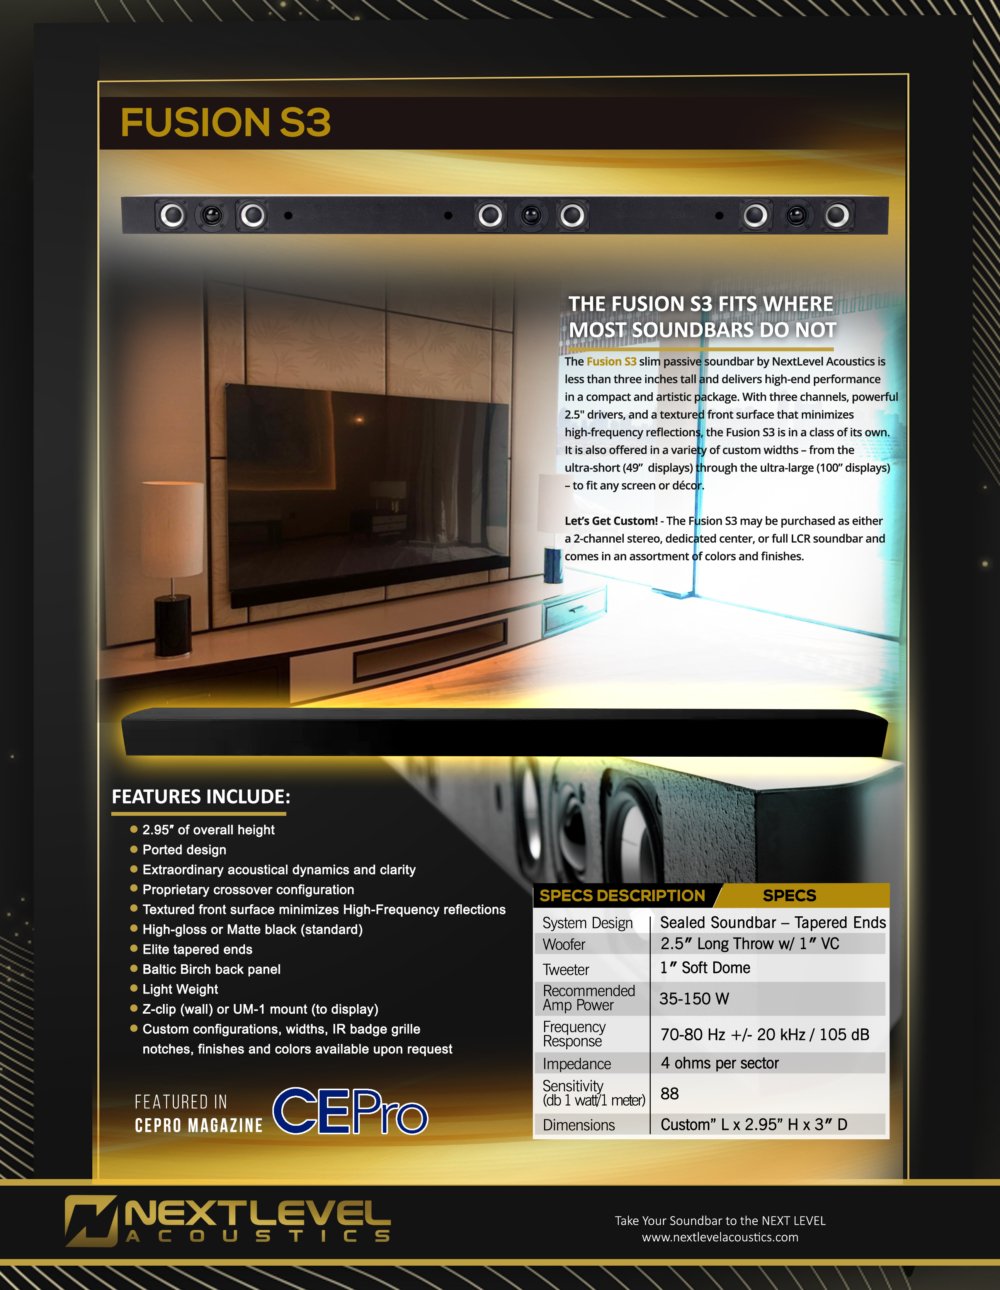
| System Type and Configuration | Module WTW / WWTWW |
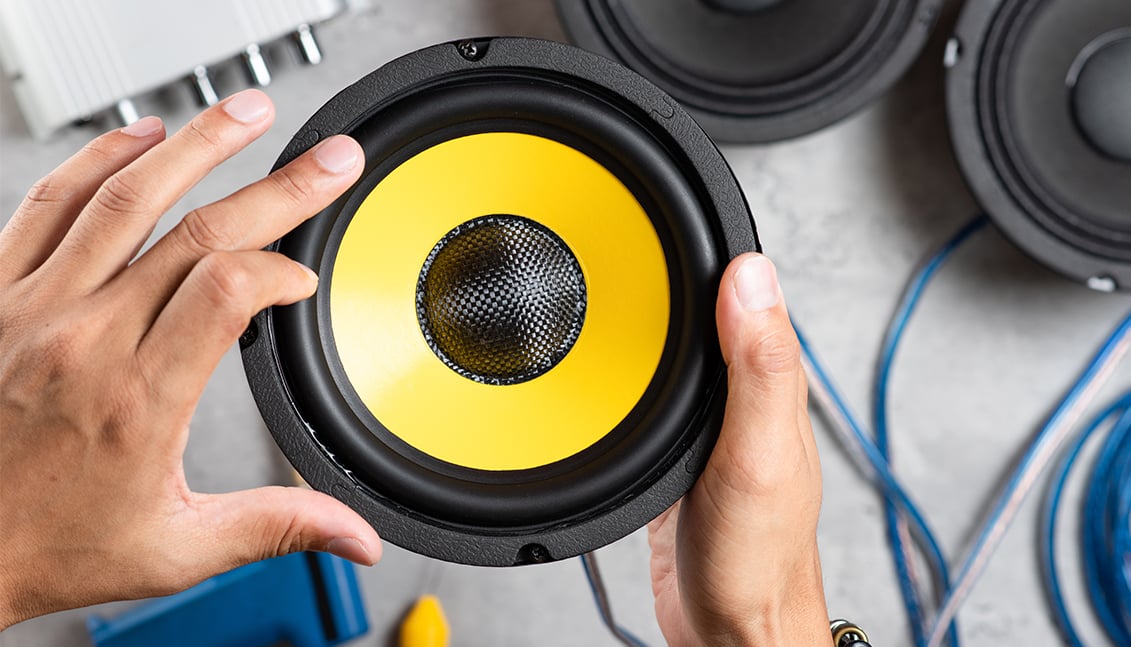
| Woofers | (6) D Series 3.3″ |
| Tweeters | 1″ Vifa BC Neodymium Silk Dome |
| Sensitivity | 88 dB (3.3″) |
| Impedance | 4 ohms each sector with proprietary amplifier friendly IOSB technology |
| Response | 80 Hz – 20 kHz +- 2 dB (3.3″) |
| Power- Min/Max – RMS | 20-200 W (LR/C 3.3″) |
| Dimensions 3.3″ | 4.5″ h x 2.8″ d x custom″ w |
| Standard Finish | High Gloss Black / Matte Black |
1. Please keep your boxes and inner packaging materials. In the event that your speakers need to be serviced at the factory it is essential they are returned in their original packaging.
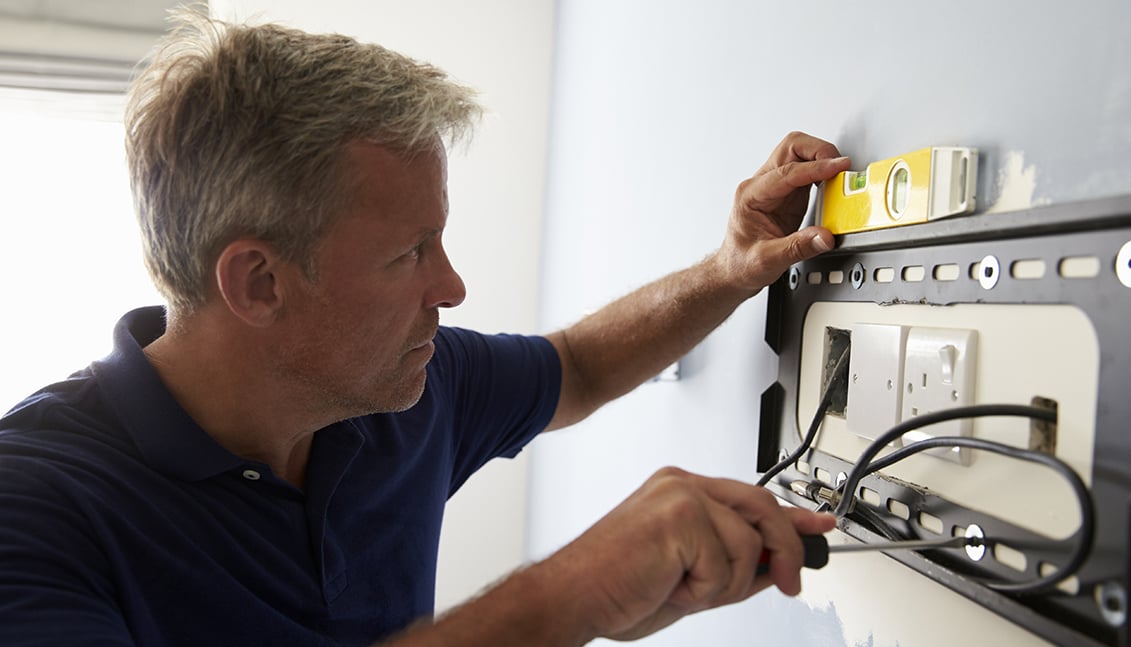
2. If wall mounting the soundbar, install rubber bumpers and Z Clips. Z Clips mount “tab down” (screws on the top) and “tab up” (screws on the bottom) on the wall. Do not mount the Z Clips where the non-safe zones are indicated on the back of the unit.
3. Install hookup wires. Observe polarity to and from the receiver amplifier to the speaker. (+) Side of the speaker must connect to the (+) side of the amplifier. I.e. red to + and black to (-). Place either directly above or below the display.
4. Make sure you adhere to the UM1 bracket weight restrictions if using
5. Break-in normally takes about 12 hours of playing. In this 12 hours, the crossover capacitors and drive units are breaking in. Please do not play at excessive power levels. Over-driving the speaker system can result in permanent damage. Always turn down the volume when changing between program sources.

